Looking for some inspiration for beautiful acrylic nail designs? Look no further! In this article, I’ll be sharing some stunning “fotos de uñas acrílicas hermosas” (photos of beautiful acrylic nails) that will leave you in awe. Whether you’re a nail art enthusiast or simply looking to enhance your style, these photos are sure to spark your creativity.
Acrylic nails have become increasingly popular due to their versatility and durability. From intricate floral patterns to bold geometric designs, the possibilities are endless when it comes to acrylic nail art. By combining different colors, textures, and embellishments, nail technicians create unique masterpieces that are both eye-catching and long-lasting.
- Oval: This classic nail shape is universally flattering and works well for most hand shapes. It creates an elegant and feminine appearance with its gentle curves.
- Square: If you’re looking for a more edgy and modern look, square nails are a great choice. They offer a sleek and sophisticated style that can make a bold statement.
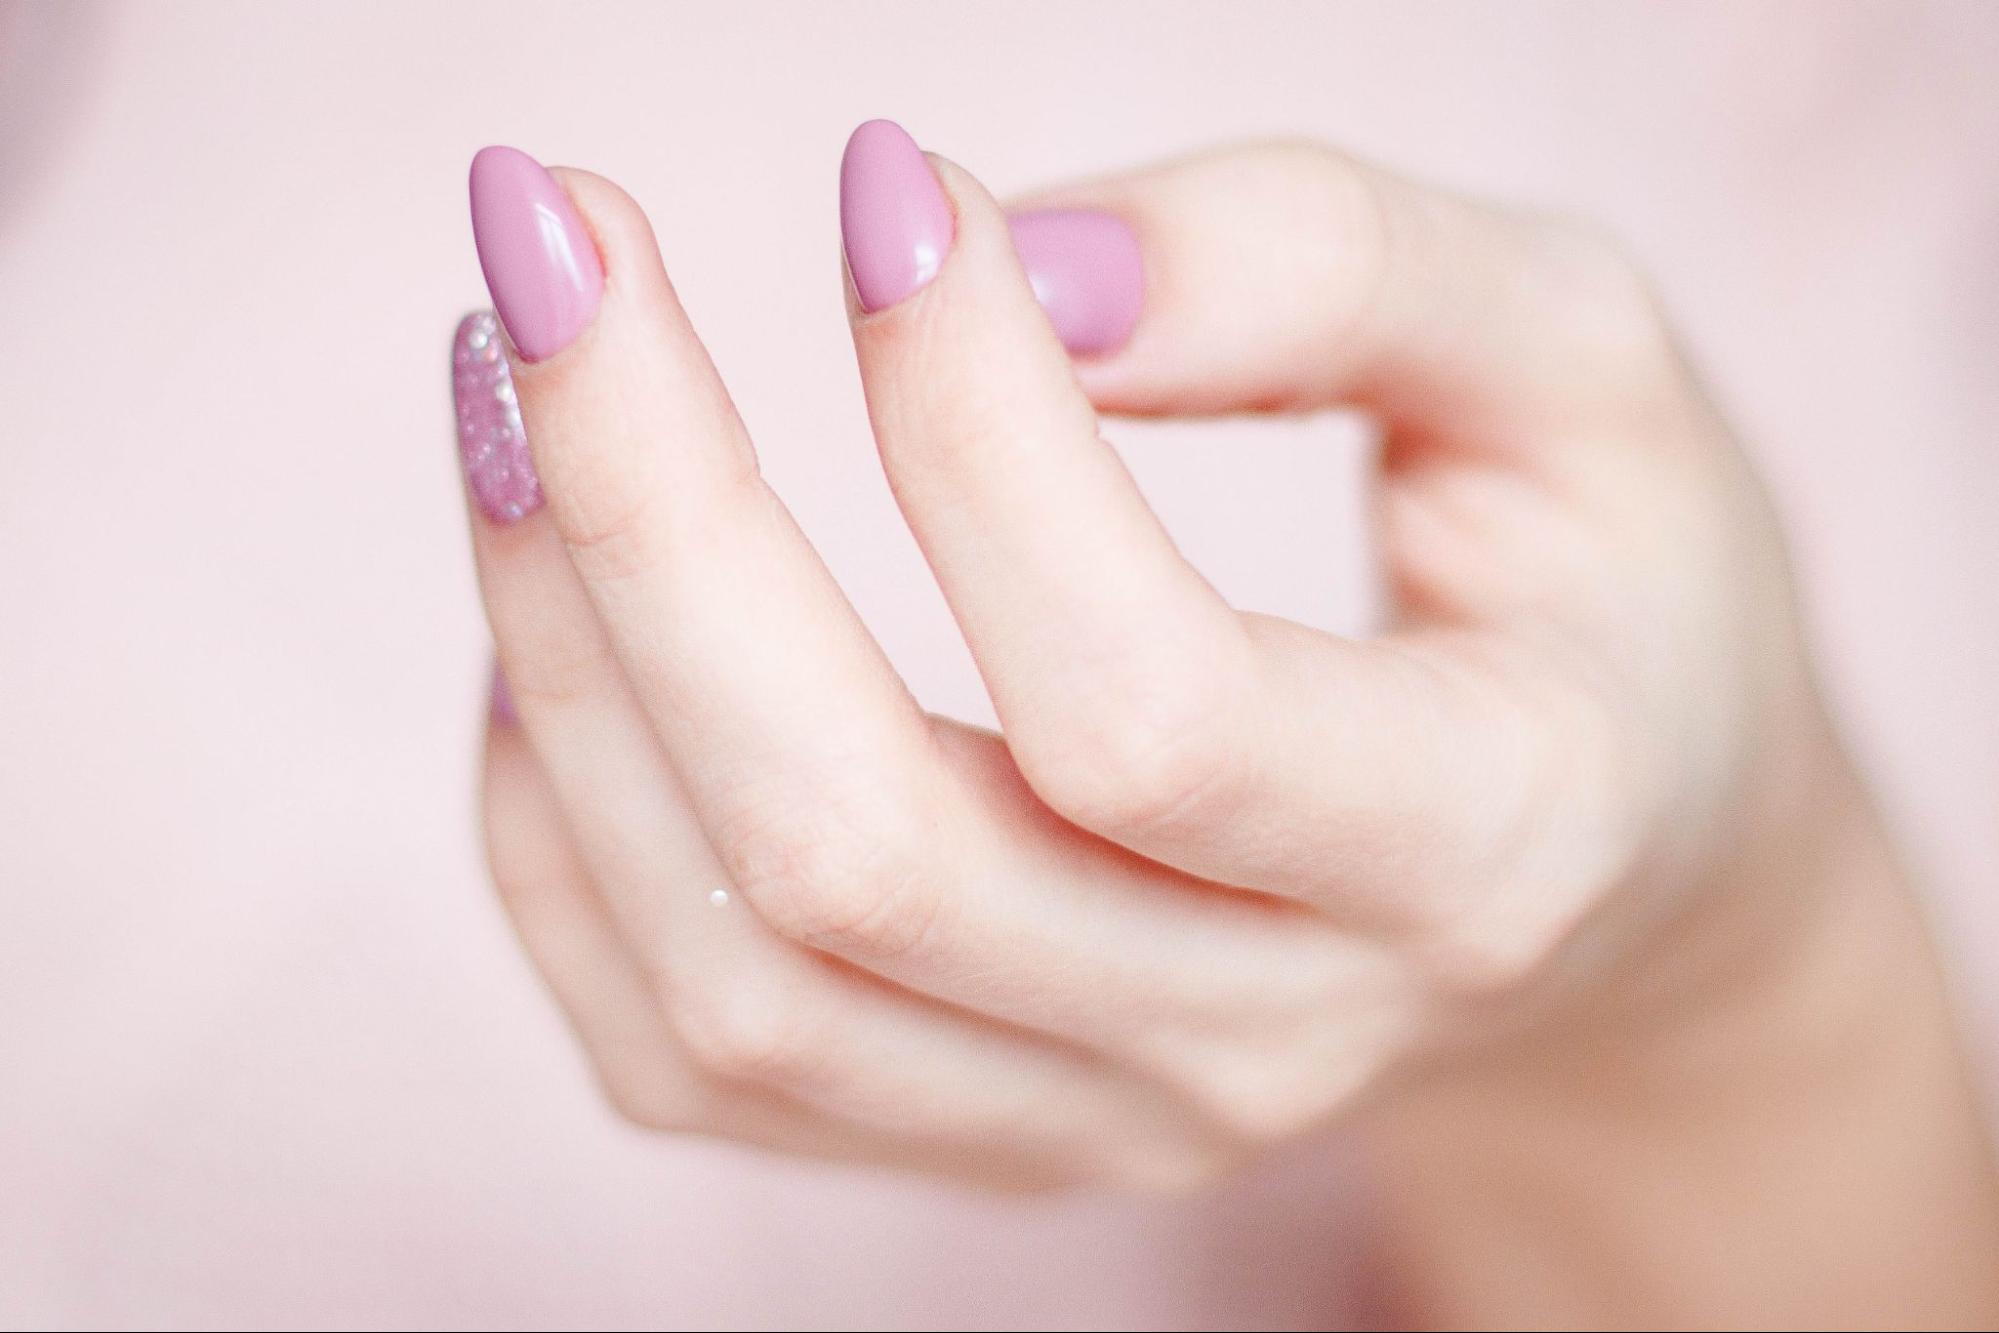
- Almond: Almond-shaped nails are all about elegance and gracefulness. This tapered shape elongates the fingers and adds a touch of glamour to any manicure.
- Coffin/Ballerina: This trendy nail shape features squared-off tips with straight sides, resembling a coffin or ballerina shoe silhouette. It’s perfect if you want to showcase your stylish side.
- Stiletto/Pointed: For those who want to embrace their inner diva, stiletto or pointed nails are ideal. These sharp-ended beauties exude confidence and create a dramatic impact.
Remember, the right nail shape is ultimately based on personal preference and what suits your individual style best. Consider factors such as the length of your natural nails, the activities you engage in regularly, and how comfortable you feel with different shapes.
Fotos de Unas Acrílicas Hermosas
If you’re looking to enhance your nails with a stunning and long-lasting look, acrylic nails are a fantastic option. With their versatility and durability, these beautiful extensions can transform your fingertips into works of art. Let’s dive into the world of acrylic nails and discover how to get started.
1. Consultation with a Professional
Before diving into the world of acrylic nails, it’s essential to have a consultation with a professional nail technician. This step ensures that your natural nails are in good condition and ready for the application process. During this consultation, you’ll have the opportunity to discuss your desired nail length, shape, and design.
2. Prep Your Natural Nails
Once you’ve decided on the perfect design for your acrylic nails, it’s time to prep your natural nails. Start by gently pushing back your cuticles using a cuticle pusher or an orangewood stick. Next, lightly buff the surface of your natural nails to create better adhesion for the acrylic.
3. Applying the Acrylic Extensions
The next step in getting stunning acrylic nails is applying the extensions themselves. The process typically involves creating a form or using pre-made tips as guides for shaping and extending your natural nail bed. A liquid monomer is then mixed with powdered polymer to form a thick paste that is applied over each extension.
4. Sculpting and Shaping
Once the extensions are in place, it’s time to sculpt and shape them according to your desired style. Using a file or an electric drill (in skilled hands), the technician will carefully shape and smooth out any rough edges or uneven surfaces.
5. Adding Color and Design
Now comes the fun part – adding color and design! Your technician will apply layers of colored polish or gel onto your newly created nail surface. From simple solid colors to intricate patterns or even adorable nail art, the possibilities are endless.
6. Finishing Touches and Maintenance
To ensure your acrylic nails last as long as possible, it’s important to properly care for them. Regular maintenance appointments every two to three weeks will help keep them looking fresh and prevent lifting or breakage. Additionally, remember to moisturize your cuticles and nails daily and avoid harsh chemicals or excessive exposure to water.
So there you have it – a brief guide on getting started with beautiful acrylic nails. From the initial consultation to the final touch-ups, this process allows you to express your unique style while enjoying long-lasting beauty. Get ready to show off those gorgeous “fotos de unas acrílicas hermosas”!
Sure, I can help you with that. Let’s dive into the section titled “Applying the Base Coat” for creating beautiful acrylic nails. Applying the base coat is a crucial step in achieving stunning results with fotos de unas acrilicas hermosas (beautiful acrylic nail photos). In this section, I’ll guide you through the process and share some important tips.
Applying the Base Coat
To begin, make sure your nails are clean and properly prepped. Trim and shape them to your desired length before gently pushing back the cuticles. This will create a smooth canvas for applying the base coat.
Here are a few steps to follow when applying the base coat:
- Start by selecting a high-quality base coat that suits your needs. Look for one that provides good adhesion and helps protect your natural nails.
- Apply a thin layer of the base coat evenly across each nail, starting from the cuticle area and moving towards the tip.
- Be careful not to apply too much product, as it can lead to uneven application or longer drying times.
- Allow the base coat to dry completely before proceeding to the next step.
Some additional tips for optimal results:
- If you’re using gel polish or gel-based products, ensure you cure each layer under an LED or UV lamp according to manufacturer instructions.
- Remember to cap off each nail by running a brush along its free edge with base coat, which helps seal in color and prevent chipping.
- Avoid getting any base coat on your skin or cuticles as it may affect how long your manicure lasts.
By following these steps and tips, you’ll be on your way to achieving stunning fotos de unas acrilicas hermosas!
Remember, practice makes perfect when it comes to applying acrylic nails. Take your time and experiment with different techniques until you find what works best for you. Stay tuned for our next section on adding color and design to your acrylic nails.
Feel free to reach out if you have any further questions. Happy nail art!